Friday, September 20, 2013

Space Wolf Wolf Guard with Assault Cannon and Frost Sword

Well, over three days of child naps and then some I decided to go back on my original plan of painting complete squads and just paint whatever I felt like. What I felt like was one of my favourite minis I put together. 

Here is my Space Wolf Wolf Guard in Terminator Armour with an Assault Cannon and Frost Sword.

He's using his sword to brace as he lays down heavy fire...


Here's a view of the cannon. I put some greenish wires in just for a bit of extra colour, although it's not as if there's not already enough going on!


From the back you can see the shells and belt feed to the gun. I quite like the bulk of it all.


The stripes on the frost weapon are my first attempt at a sort of blended swordy type thing rather than an electricity power weapon effect, hopefully to help me tell them apart.


And, of course, when a frost weapon meets lava, the frost sword wins, hopefully it looks a little like the lava is solidifying or at least crusting over near the sword.


Unfortunately these shots were taken under pretty harsh light, so they're a bit harsh and bright. My two, so far, terminator armoured marines.


And another angle...


The sword looks a little better blended from a distance. (I hope!)


So who knows what will be next, but I had a blast painting him, it's so over the top, the size of the gun, the massive armour, the lava... great fun!

Wednesday, September 18, 2013

Ruins on full realm of battle board with 40k and Mumak

As promised, here are some shots on the full board with Mumak and some 40k Space Wolves for scale. Unfortunately it was getting dark outside and our light bulbs, though they've saved us lots of money, are too dim for good photos!

Here are my currently painted Space Wolves.


Here is a close-up of some Haradrim clambering up the back slopes...


And here are some coming up the front steps.


The Space Wolves can get up the steps easily too...


Even a Wolf Lord wants to party up the top...


And there's the Mumak for comparison. To get the height I wanted I put it next to the polystyrene and stacked it up so that the howdah would be level with the top of it. I figure the Harad can leap onto the ruins, and certainly shoot without pesky height differences!


Here's a shot from the other side so you can see how big the Mumak is!


And from the back...


And from as above as I could get standing on a chair over the table (glad I didn't drop the camera!)


Obviously the two tiles don't need to be next to one another and can be used separately or just moved apart from one another. I'm thinking of building a little bridge that can be used to connect the two with a gap between them wide enough to ride a horse (or run a warg) down.

Sunday, September 15, 2013

It's still not Weathertop, but it is finally painted!

Well, sorry for the extended delay, life has been full to the brim of trips, uni, a small child, illness and Borderlands with friends.

On the plus side, I've finally finished my scenery =)

I'll take some shots of it on the full board with more minis at a later date, but am currently working on an assignment worth 40% of my final grade, so can't take too much time out for blogging!

These are, again, Hirst Arts blocks. The ruined tower set that lets you make Weathertop from The Lord of the Rings. I decided early on that I wanted to play with some more verticality, but also wanted to easily use boards that were one foot by one foot and a little modular. Here you can see that I've sorted the blocks out by type and have started dry-assembly on the paper plan provided on the Hirst Arts website. http://www.hirstarts.com/


Here's a little closer look. You can also see the instructions in the back right, though I didn't use them for everything as I did a slightly different version.


These aren't glued yet, just an idea of what I had for the first play with the blocks...


Now I've glued some of the sections together, but have yet to work out anything about hills etc. As a matter of fact, on the left you can see my sections for the ruined castle that are in the process of painting - I was putting this one together while waiting for paint to dry on the other =)


After a day of hacking up polystyrene sheets I had an idea for a more spread out series of ruins. I have covered the polystyrene with polyfilla (actually, not the "official" one, but a cheaper version I found at Bunnings. I just squeezed it out, spread it all over the polystyrene with my finger then used some wet crumpled aluminium foil and dabbed it all over the still wet polyfilla. This gave it a bumpy texture that was quite irregular. On top of all that I globbed glue, then sand, then some little rocks. I've also tried to add some more broken bits around the place.


Here it is all painted black. The weather (winter here) was so awful that I actually painted it with watered down black paint as I couldn't get a day that wasn't too wet or cold for the spray paint. You may be able to see that the tops of some of the blocks that were smooth were given a layer of polyfilla roughed up to try and give them a non-smooth texture. 


Now I've also painted the ruins brown.


Then drybrushed blue-grey.


And then drybrushed dark grey over everything, light grey over everything then a final drybrush of games workshop white drybrush (can't remember the name off the top of my head) just on the ruins.


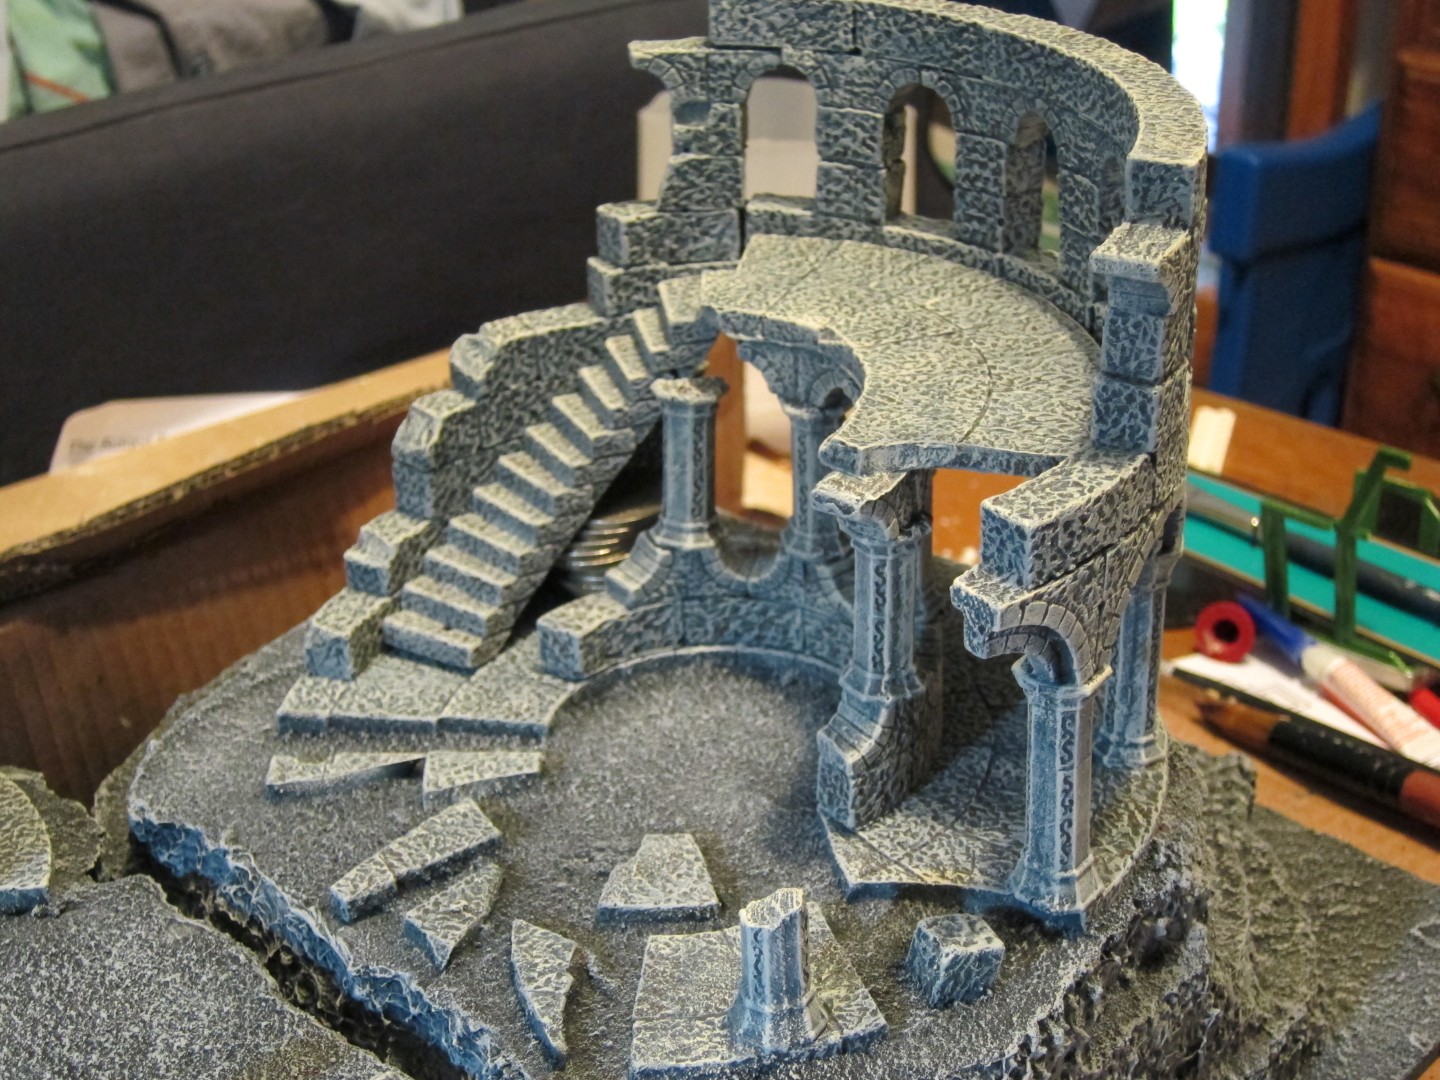
The photo doesn't quite capture the subtle difference in tones between the ruins and the rocks. I was sort of going for a look as though the big stone "steps" were carved into the cliff face and are not natural, though have weathered etc to look as though they're almost part of the rest of the scenery.


The coins hiding under the stairs are to hold it while the glue sets! And the gap under the bottom step is soon to be greenstuff filled and re-painted. My stairs were a little too steep. I'm quite pleased with how rough the previously smooth bits ended up once dry-brushed.


For scale, here's the small front ruin with an archer...


And the small top ruin...


And the main ruined section...


Here it is on a 2 foot by 2 foot board. Because each section is 1 foot by 1 foot you can put them next to each other, but you don't have to.


Side view of the top section...


It's hard to capture how tall they are off the ground here. I'll set up the boards later to demonstrate how I chose the height by putting a Mumak next to it =)


There is access to the top level via the front steps, but also around the back there is a semi-winding path that a smaller based mini could ascend.


And lastly a sort of top-ish view. 


I was pretty happy with how cheaply the polyfilla roughed up the styrofoam edges. I was watching Thomas the Tank Engine with my son the other day (he's 2 1/2 now) and noticed that lots of their scenery (in the old model-based episodes, not the new CG ones) has the tell-tale bubbles of polystyrene. I've managed to avoid that by spending about $2 on a cheap polyfilla knock-off, my fingers and some aluminium foil (which I re-used after cooking a roast and rinsing it off).

I think I preferred the other blocks from the ruined castle, but I know lots of people prefer these styled ones, so I guess it's just personal taste. 

So there you have it, sorry for how long it's been, I'd really like to do more painting and hobby, but just don't have lots of time spare for it currently.

Next chance I get (pre-schooler free) I'll try to set up the boards with the new scenery pieces on them so you can get a better sense of scale.

Saturday, May 25, 2013

It's not Weathertop

About to head overseas for a week, so although I w
as hoping to finish it off this week it'll probably not be for another week or two (or three - as I have another major assignment to do when I get back).

Instead you'll have to interpret how it might look when painted...


As you can see, it's assembled and this last week it got a black coat of paint...


I'll do a full WIP everything after it's done, but I've taken some of the advice from last time and added more rubble around the place. I've also broken it up into lots of segments to make it a larger terrain piece rather than just a single ruin.

Update-ya-later!

Monday, May 6, 2013

Hirst Arts Scenery - Ruined Fieldstone Tower

Well, I finally finished! 

For my birthday, mid March, my wonderful wife bought me some bags of bricks. Unfortunately I was too dumb to take photos of all the prep work as I was just having way too much fun putting it together!

These things are so awesome and I've got another kit to go yet (the Weathertop type one). 

It takes a bit of practice to get the hang of using them and I haven't done a particularly good job of it. The walls are a bit crooked and there are some ugly gaps. Still, I think it came up quite well in the end! There were several times I dropped bits and had to re-do things as blocks went breaking here, there and everywhere. Once I finish the Weathertop one I think I'll just order a whole bucketload of bricks and go freestyle =)

Anyway, here is the test fit of the different sections.


And here's the same structure after adding some ruiny bits to the tops of the smooth walls.


I wanted a sort of bluestone look to the ruins so I had a look at the bluestone bricks we have around our wall heater. There is an underlying brown tone, then a blue-grey colour followed by some lighter grey drybrushes. Hopefully it will distinguish it from the board while still looking as though the stones came from the same area.


Here it is all looking muddy and blue-grey...


With one more coat of blue-grey you can see the base colour I'm going for.


And now there's another drybrushing of grey...


Not sure the picture shows it, but the left hand side has a lighter tone than the right.


And this is as above, but showing the last highlight layer on the left compared to the right. In all it was a spraypaint black, paint all brown, then heavy drybrush blue-grey, then a still pretty heavy drybrush of medium grey, then a lighter drybrush of light grey and finally a tiny brush of almost white. It sounds like a lot but takes a lot longer to dry than paint in this weather! Plus, because you're not worried, like on a miniature, about perfection it's really pretty simple and quick with a big brush!


Next I had to get the board ready. I put it together loosely, then marked off where the building was. Smeared glue all over the rest of the board, sprinkled sand over that and some small stones then waited a day for it to dry.


To cover up one of the larger cracks I decided to use a vine (gratefully given to me by my brother). But how does a vine grow in my wasteland? I needed a water source so added a well in the courtyard. Then I did a big heavy black paint over the whole thing.


Next step was some simple drybrushing of the sand in just the grey colours (no browns or blue-greys). After that was dry I reconstructed the walls, applied a ton of glue and propped it up ready for another day of waiting.


When that was dry I needed to add some sand around the base of the wall where I had gaps...


You can see a few more wall bits, some stairs and stuff added with some miniatures as I was so excited by this stage!


But after that was dry it was a simple matter to do a bit more drybrushing, glue in a vine and ta-da! Finished! It took me a long time, but that's because I haven't got too much hobby time at the moment and because in this weather each coat of paint or application of glue took about a day to dry!


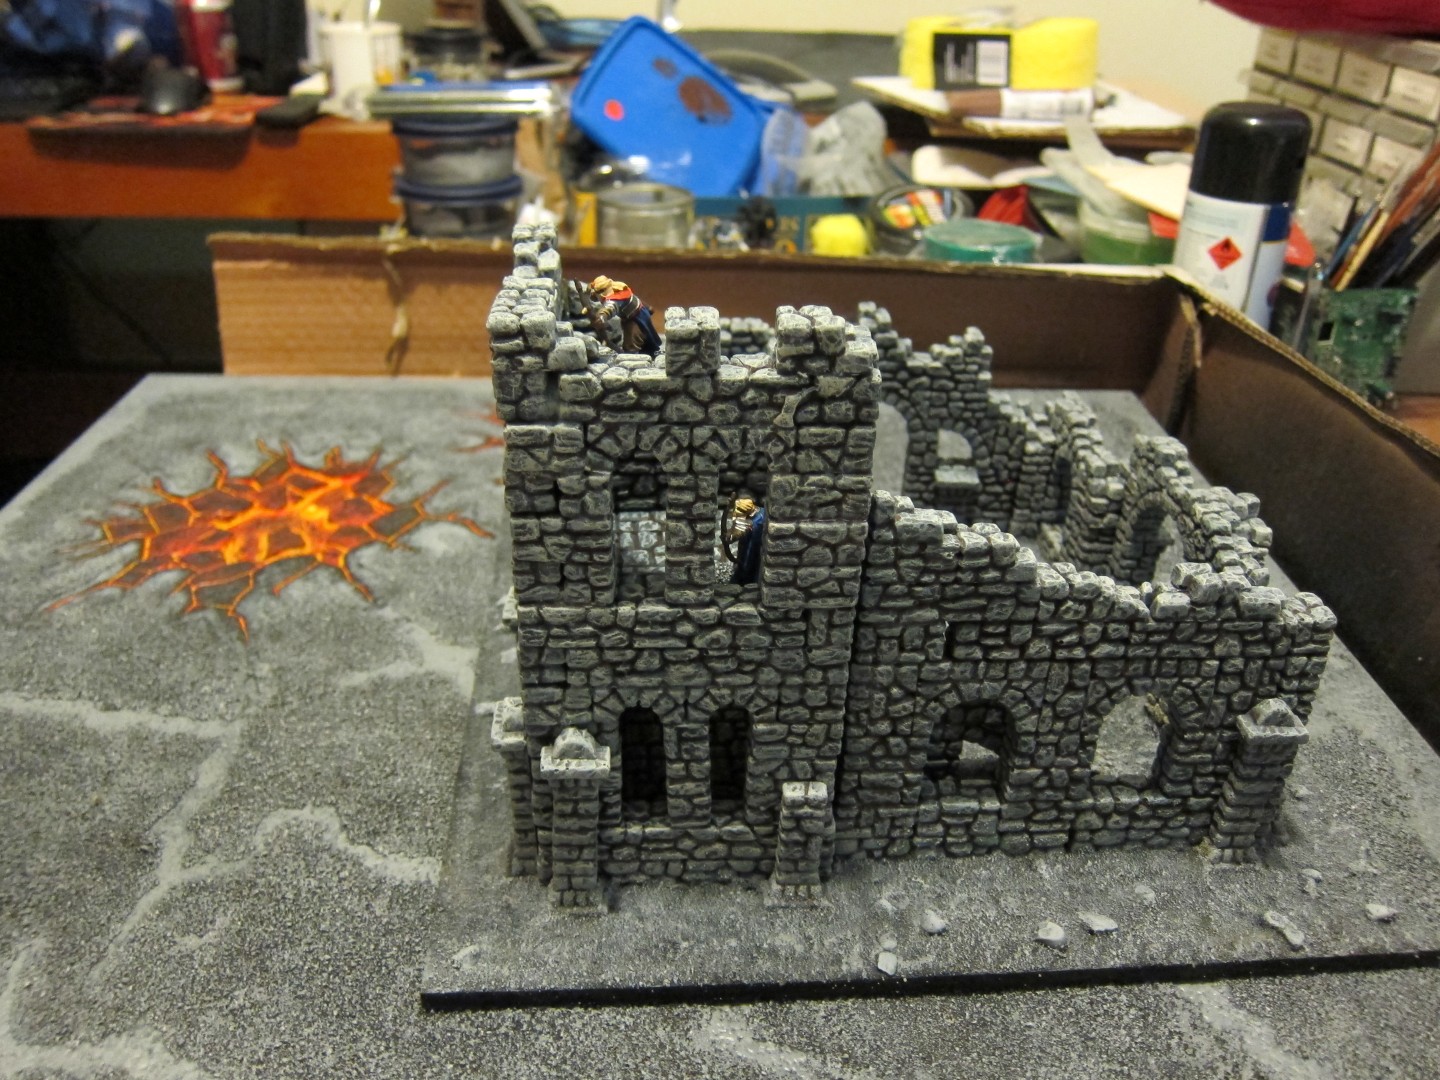
Here are some shots from different angles. Stairs help archers access the top levels.


The troll is pretty big, but could get in through the big archways.


I think the bottom fits in well with my board, though I may need to "grey up" the very edges.


Oh, and there was a large hole for some reason in one spot, so I decided that my Ruined Fieldstone Tower needed a permanent resident, Rattus.


I tried to make it so that some of the crenellations on the top were only partly ruined. This lets archers still pose nicely and look a bit castley from some angles, giving a hint of what the unruined structure may have once looked like.


Similarly for this side, you can see that the central tower on this side isn't too ruined compared to the rest of the building.


Oh, and for 40k players out there, the keep still looks pretty cool =)


This shows the vine in a bit closer detail.


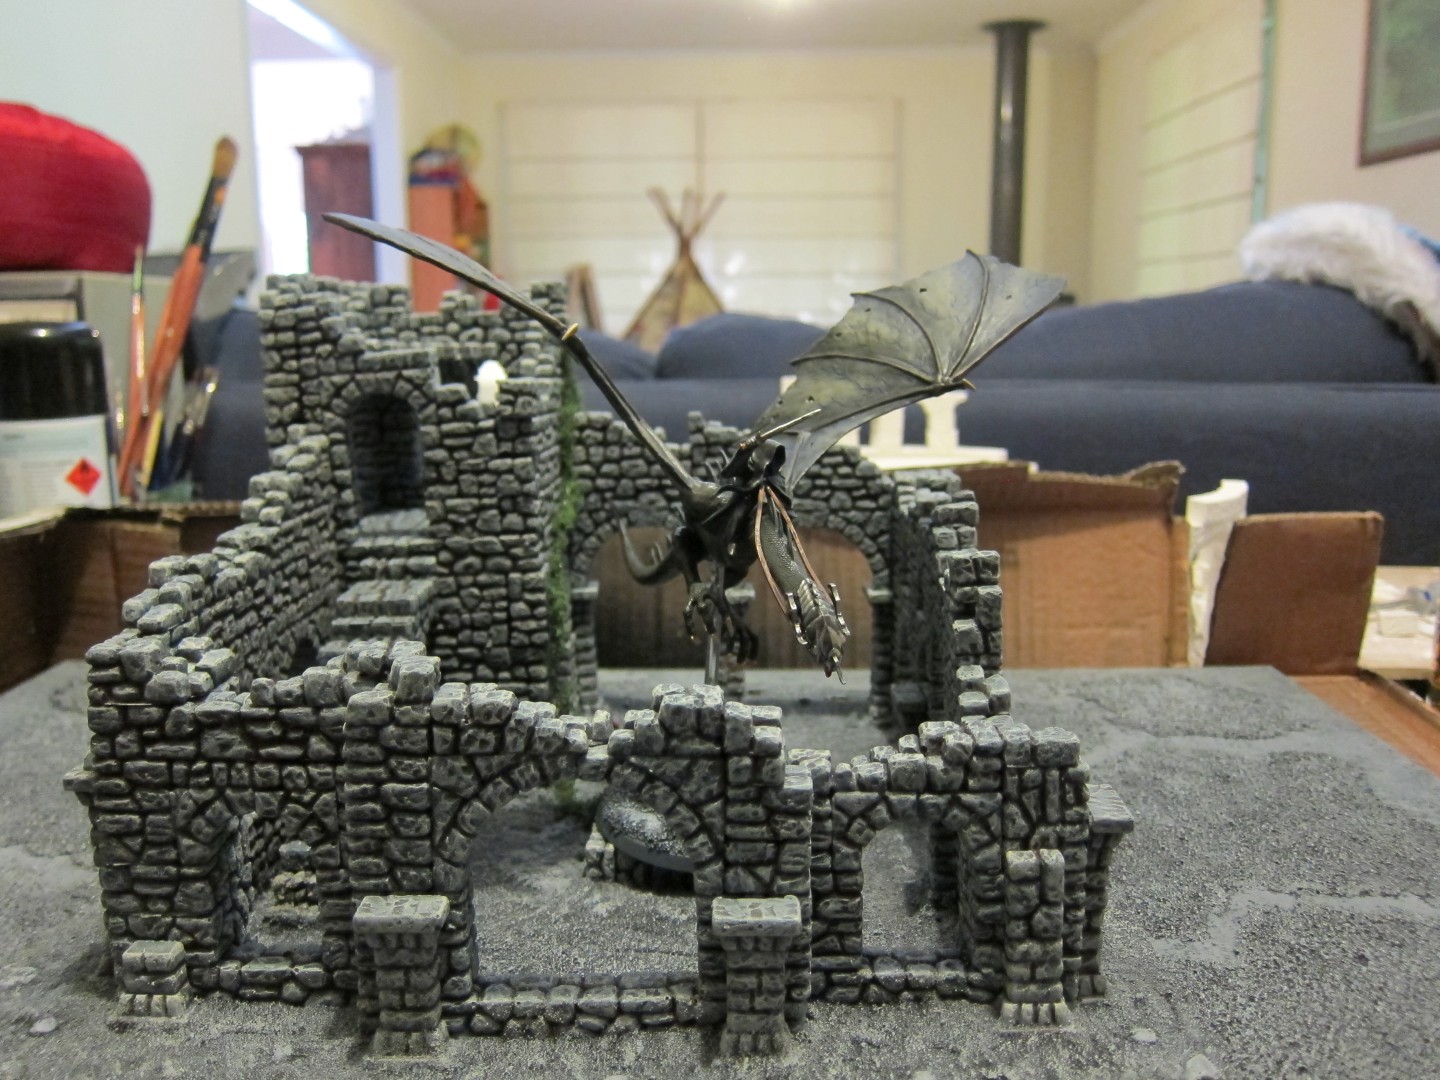
And perhaps a wraith makes this place home for the weekends?


Anyway, there you go! I had a great time building it and look forward to doing more!

For those interested the details are:

Hirst Arts Scenery - Ruined Fieldstone Tower (http://www.hirstarts.com/ruinfld/ruinfld.html)
They were bought from Griffin Grove here in Australia (http://www.griffingrove.com/)