Sunday, November 25, 2018

Dragon Painting Guide - Blightfang Blue Dragon

Well this was $30 very, VERY well spent. It has kept me busy for about a month! 

This is a bit of a long story, so bear with me and then I'll get to lots more pictures and talk through (briefly) how I painted the dragon.

Blightfang Blue Dragon

So I've always wanted a Cave Drake model, but they're unavailable anywhere, I've been looking for ages and couldn't even find one second hand or on eBay! So I decided that I'd look for alternatives.

I found this Blightfang model that I thought I could convert into a Cave Drake by just green-stuffing the gaps where the wings were meant to go.

My son has been reading "A Tolkien Bestiary" by David Day, a book my brother bought me years and years ago when I graduated from my astrophysics degree (back in 1996!) He noted that there were things called "Cold Drakes". There are lots of  ideas about them in various Tolkien writings, but essentially they couldn't breathe fire. Most often they didn't have wings, though it seems that in the main they were just differentiated by not breathing fire.

In any case, we decided that our Cave Drake (which don't exist in Tolkien as near as I could tell) would instead be a Cold Drake. My wife was reading a book about Icelandic mythology and came up with the name Hallgerd from Njal's Saga.

So, here's the work in progress shots and stuff that go along with our newest "miniature". Hallgerd the Cold Drake. It can go solo for monster related missions, come up from under the ground surrounded by goblins or even be followed into battle by worshipping Serpent Horde (my blue themed Haradrim).

So, firstly I traced the right size oval for the base, then used it to cut out an ice-cream container lid. I also had a cork floor tile (I got a lot of them from Bunnings hardware store years ago). They cut well and with a little pair of pliers you can sort of pinch and peel bits off them to make it nice and rough.


So I cut and pulled apart an oval of cork and a hole in the middle. I also pulled apart a few other chunks to make some varying heights. 


Blightfang was modelled with rocks under her feet, but I chopped some of them off so that I could pose her the way I wanted.


Here she is next to a goblin for scale. 


So firstly I glued most of the bits on (not the wings, as I was planning on not using the wings) and used lots of greenstuff to sort of fill in and smooth over some of the gaps.


You can see just how big the gap is where the wings go. You can also see how the rest of the body sort of bulges out near where the wings go in. It was at this stage that I had to re-think my wingless idea as I wasn't sure that my green stuff molding skills would be up to the task.


While I was thinking about what I was going to do I used one of my many old spare skinks to have a go at a colour scheme.


As you all know, I like blue, like my Mumak and Harad force as well as the spot turquoise colour on my dwarves =) link: Blue Mumak


My wife always wanted the wings on, and I didn't think I could fix the holes nicely with greenstuff, so my plans changed! I added some sand to the cork for texture.


We went on holiday for a week and I took a few paints with me to start the intimidating process of painting Blightfang, or Hallgerd!

Firstly I started by filling in the blue colour with Caledor Sky. Then I worked out that if I glued her down, I wouldn't be able to paint the underside very well, so I decided to do the underside first.


Next I wanted to set off the blue with a lighter colour and decided to go with a creamy/bone sort of colour. I achieved this with Zandri Dust, followed by a wash of Seraphim Sepia, then I made lots of strips of Ushabti Bone.


Inside each of the streaks I put thinner stripes, close to the edge, with Screaming Skull. I tried to do the central ridge separated just a little from the rest of the plate and went up along the edges.


This is an old brush of mine, it used to be a 5/0 and now has worn near the tip to be quite fine right at the tip, but sort of triangular. It was what I used to do the little strips. Don't throw out your old brushes!


Here you can see the process a bit in progress. A fat stripe first, followed by little strokes to fill it in a bit. 


You can see where I was holding the drake by the white showing on the leg and near where the wings attached. I knew then that I'd have to be careful handling the model. I undercoated it with a white spray paint but I don't think it held very well as the whole time a squeeze or touch would rub off the paint. Maybe I should have given it a good wash and scrub and used a newer paint rather than 10 year old 1/4 can I had left! I will definitely be spraying it with a fixative coat afterwards!


So here you can see how the big strokes have been sort of filled in with very faint brush tips from that old brush. 


While waiting for the wash to dry at one stage I painted the base. My usual formula of all black followed by a heavy drybrush of Dawnstone, then a lighter drybrush of Fortress Grey, then a light brushing of White. Lastly a heavy black wash of Nuln Oil and a final touchup of Praxeti White here and there.

The lava is Flash Gitz Yellow everywhere, then Fiery Orange (a very old paint, probably has a new name now) leaving a bit of yellow in the middle, then Wild Rider Red further out, Evil Sunz Scarlet. These colours are dabbed on with another really old brush to make little dotty splotches. Finally some patches of Scorched Earth (dark brown, I think it has a new name now) and drybrushed on the cork near the edges too and lastly Black as well. Then back on with the grey colours to blend into the rest of the base.


Test fit of the drake on the base made me smile =)


So here's the underside with the belly scales done.


All the way along the long belly!


And the tail was the same colours as the belly, but with drybrushed layers on the higher bits rather than painted on.


And I put a gloss coat 'Ardcoat on the lava to make it shiny, though I think it doesn't really come up in the photos.


Now I did the head, as one side of the head will be hard to reach once the wings go on. The tongue is red, the webbing near the mouth I ended up doing as Scab Red (old name) Red Gore (I think this might be an old name too) and a wash of Leviathan Purple. The blue colours were Caledor Sky, a Drakenhof Nightshade wash, mid blue was Teclis Blue and light blue was Lothern Blue. Here you can see the undercoat, wash and mid blue.


The horns were done the same way as the belly scales. And the lighter blue drybrushed over the scales really brought out the textures, especially the skin on the arms.


I decided to do the back webbing in the same colours as the belly scales. But again, I used drybrushing rather than painting.


I left the webbing close to the body darker, and lightly drybrushed the upper edges.


I found this was a bit tricky to do and wasn't 100% happy with the results as it was sometimes a bit too patchy for my liking.


I used a few washes on the back webbing and while they were drying I finished off the head. I put a yellow eye with a black vertical stripe then drybrushed the lighter blue colours on over the head. I also painted edge highlights on the raised bits with the lighter blue. 


The horns were painted so that the tips were the lighter colours with streaks leading to the tip.


The wings I decided to do the underside in the same colours as the webbing and the scales. I tried two versions before deciding what to do here. Firstly I drybrushed the lighter colours like I'd done with the webbing. Then I actually painted from darker to lighter like the scales. 

In the end I got my brother in to look at it to get his advice too. In the end I sort of did a bit of both! I painted them like I did the scales. All Zandri Dust, then big triangles of Ushabti Bone then smaller triangles of Screaming Skull (obviously they weren't triangles, but you get the idea). Then I used Seraphim Sepia wash a few times to get the shading how I liked it. Finally I drybrushed the lighter colours a little near the edges. The blue parts were done the same way as the body.

This picture shows on the left the painted version, on the right the drybrushed version.


The top of the wings I did blue, here they are with two layers of blue.


And here they are done. I used the wash a few times lightly, and also between the muscles of the "arms", to give them a bit more definition. Also a few light layers of wash in triangles where the long ribbed parts meet the "arms". I tried to keep the lighter parts towards the middle and edges of the wings, with darker near the top and ribbed parts.


And here you can see the finished underside of the wings. You can see I still have to paint the stone where the dragon's foot is resting. There are also other touching up bits to do.


The last main job was to glue the wings in, wait for the glue to set, then greenstuff the gaps. I rolled out tiny thin little rolls of greenstuff, then carefully used a long tool to poke the greenstuff into the gaps and sort of shape it into rough ridges. Of course, then I had to wait a day for it to cure nicely and then paint those bits too, but they seem to have blended in quite well!


So then I touched up the base by adding a bit of sand to the flat bits near where the feet glued on and painted the grey bits like before. Oh, I also did a little bit more Sepia wash in a few small stripes on the tail.

And here it is all finished and on the board!


Blightfang Blue Dragon

Here's a closer up view of the head.


Blightfang Blue Dragon

And from above the lava looks pretty cool... or hot? I thought that the blue might contrast nicely with the lava and I think it does!


Blightfang Blue Dragon

This wing casts a lot of shade, but hopefully you can see how it turned out a bit.


Blightfang Blue Dragon

And from the back you can see the tips of the spurs between the webbing, I forgot to mention that I sort of did the tips of them in lighter blue too.


Blightfang Blue Dragon

And part of the reason Hallgerd is scary is the muscular tail, which looks like it could whip out pretty spectacularly!


Blightfang Blue Dragon

For scale here are a few very brave dwarves ready to attack!


Blightfang Blue Dragon

You can sort of see the bluish tones on the dwarves as well. Maybe I should do a purple dragon next =)
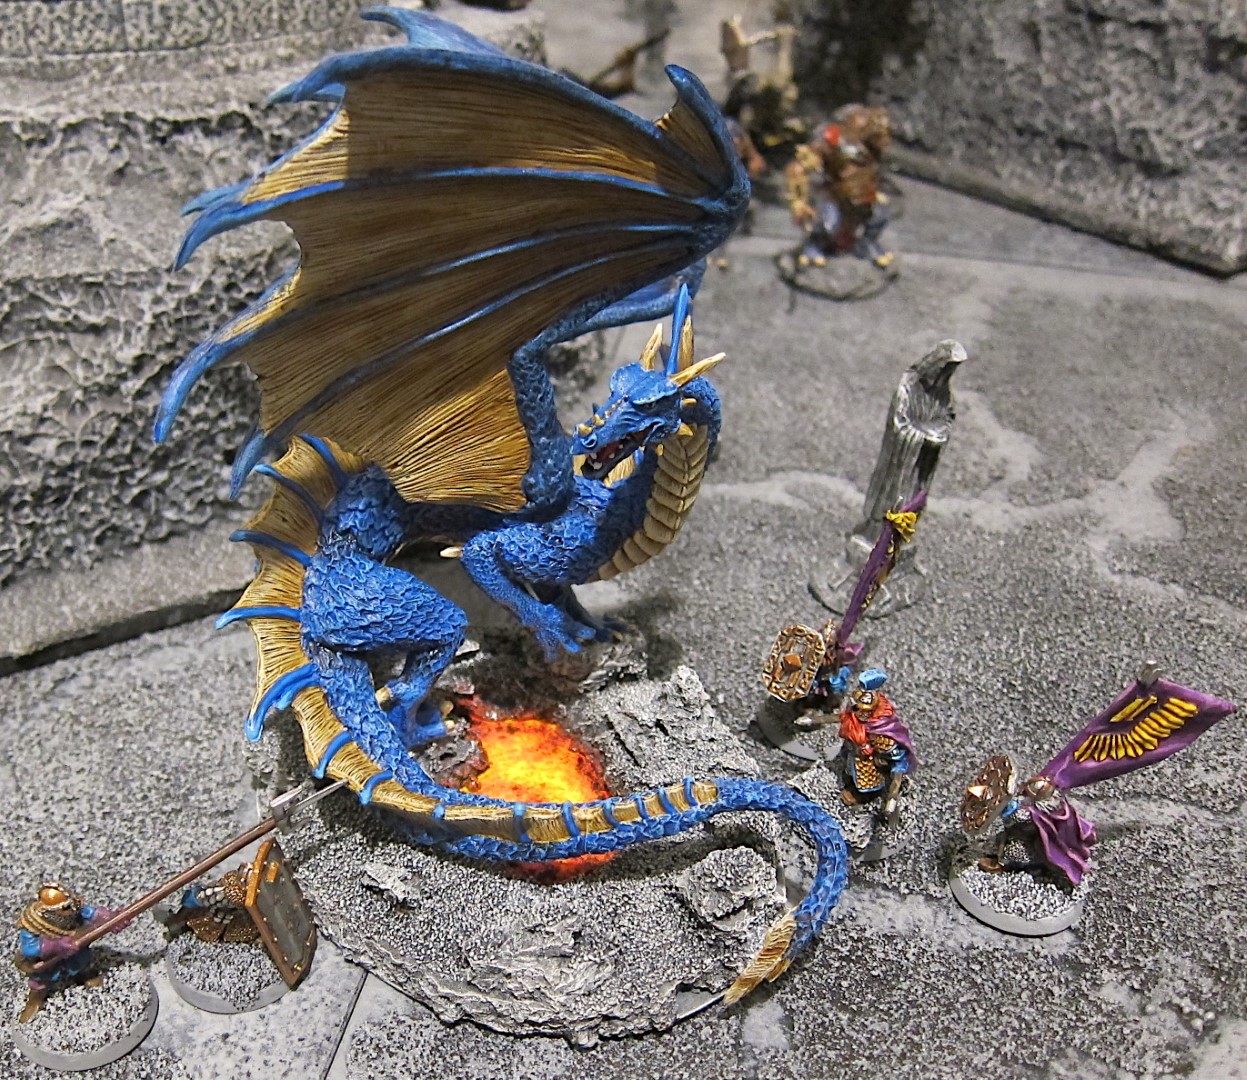

Blightfang Blue Dragon

From above you can sort of see the curve of the dragon spine and the wings, which are raised fairly high, still cover a large area. It looks quite stunning on the table!


Blightfang Blue Dragon

Wouldn't want that beast looking at me! From a low angle, Hallgerd really rises up above the dwarves!


Blightfang Blue Dragon

And finally, here are some of my Harad army, perhaps this dragon lives down that way and has collected some human worshippers.

Blightfang Blue Dragon

So there you go, this took me a long time, working an hour or so at a time and was a great project - though very intimidating and I had a lot of moments that I thought it wasn't going to work or be any good. In the end, though, there are some bits I don't like, but actually from a bit of a distance it looks great - at least it does to me!

Saturday, November 24, 2018

Battle Company - Defeat Druzhag!

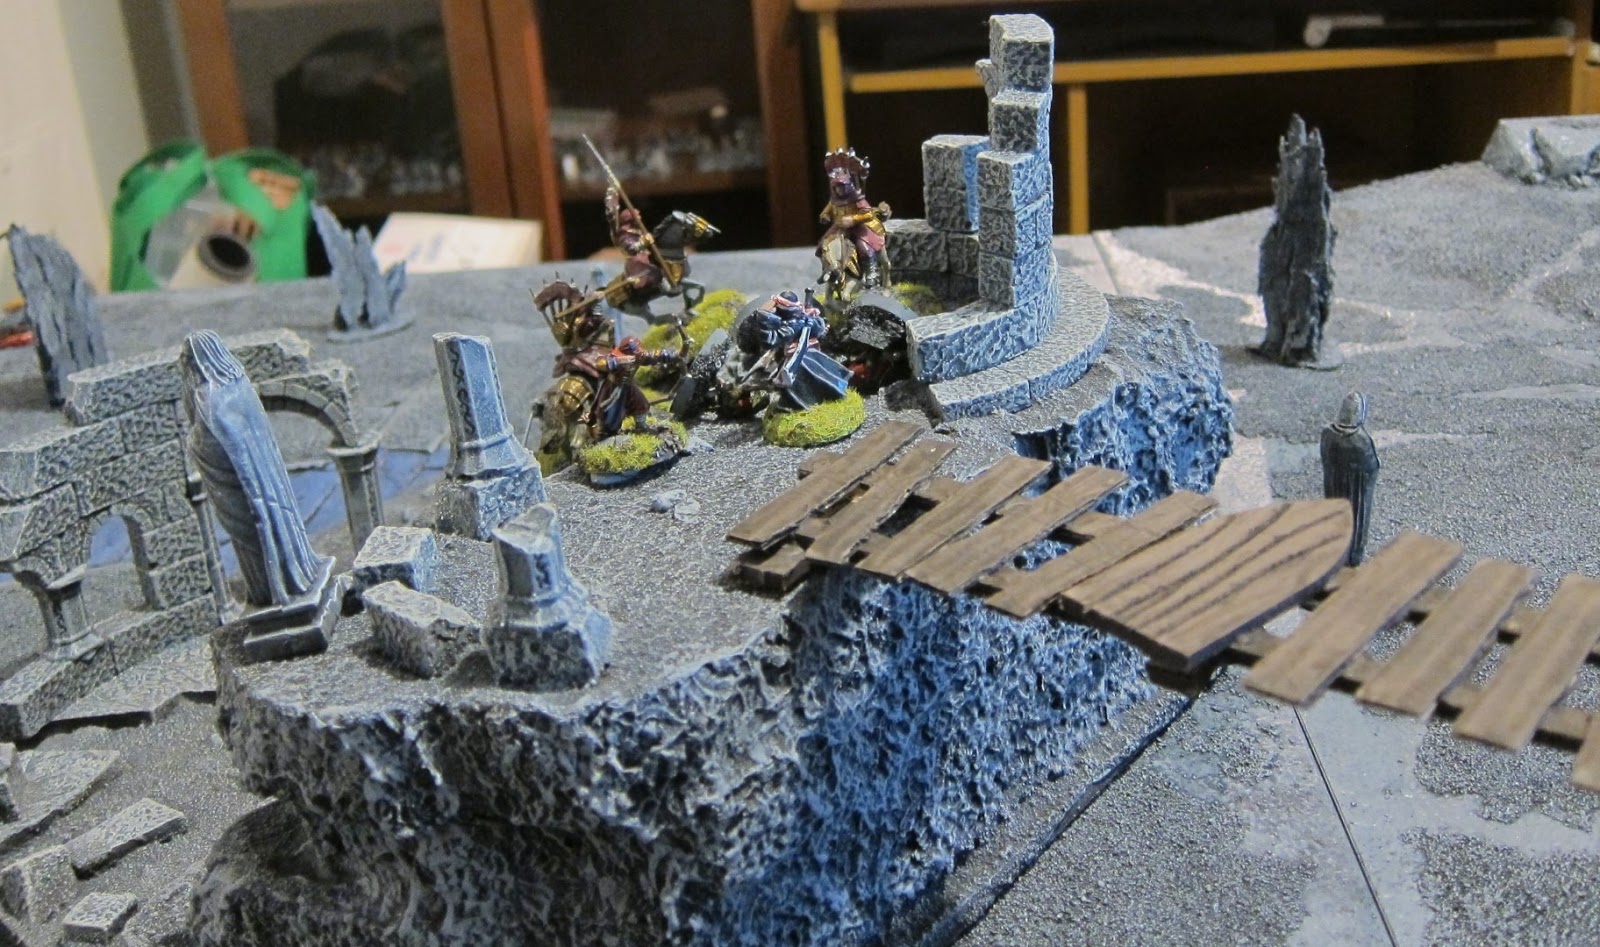
With their main leaders resting after the previous battle, The Falcon's Honour (minus the Falcon) hear word that an evil goblin who can control beasts is terrorizing the locals and seems to be consolidating a base in some ruins nearby. Eager to prove their worth, the company sets off without The Falcon, The Fang, The Tiger or The Wolf!

I also have a new, very bright, lightbulb which I think has made the colours all a bit funny and for some reason the photos seem a little bit fuzzy, but at least we can see things!

Here is Druzhag, surrounded by evil monsters, two giant spiders and a swarm of giant bats!


And the slightly depleted Falcon's Honour battle company enters only to find that there are some goblins lurking at the top of the way up to the ruins.


The humans all charge forward!


The Haradrim are excellent horseriders and The Hawk spurs his steed up the stony steps and takes on four goblins at once! Rolling double 6s he wins the combat, knocks two to the ground and slays a goblin!


Meanwhile, "The Serpent" trades bowshot with three goblin archers who have scrambled up to the top of the ruins. He misses and their arrows scatter around, one thunking into the statue he is taking refuge behind.


Druzhag lurks around the back of the ruins, biding his time.


The Blademaster climbs up behind the goblins while The Hawk charges forward again and kills two more green goblins!


The goblins all miss their shots at The Blademaster, but The Serpent makes his shot and takes out the first of the goblin archers!


The Hawk and The Blademaster take out the last of the goblins guarding the bridge with ease! My brother rolled sixes in just about every battle of the game!


The bats swarm forward to attack The Serpent, but he beats them back!


Now the bridge is wide open and The Pincer uses his double-shot to hit the two goblin archers at long range, one of them is slain!


The Pincer takes aim and two arrows thunk into the last remaining goblin archer as the humans start to step carefully onto the rickety bridge!


Druzhag casts enrage beast on the green spider as it scurries forward, eyes glowing a menacing red! It paralyses The Hawk and takes him out, then the spider suffers a wound from the after effects of the spell (a strength 10 hit)! The orange spider scurries up The Blademaster and brings his time in this battle to an end as well!


Here you can see Druzhag lurking in the background and The Serpent riding his white horse around towards the back steps.


Druzhag then enrages the bats and they swirl up, flying over to attack the Bearer of the Sunstone and The Fox, enraged by the evil spell the bats win the fight and wound both Harad fighters! The Talon, further along the bridge, uses both of his points of might to take out the green spider.


The Serpent has now galloped around to the back of the ruins, seeing Druzhag hiding up above.


The orange spider has scurried back to keep out of bowshot of the human archers.


Druzhag uses the last of his magic power to enrage the orange spider! It scurries forward, but The Fox takes out the enraged beast with a lot of 6s! Meanwhile, the bats have charged at The Panther. The Pincer shoots into the combat, hits both the bats AND The Panther with his double shot but even with the poison arrows, no wounds are made. The Panther, an arrow now sticking out of the back of his cloak, wins his melee combat, but fails to wound any of the bats.


The Serpent dismounts and tries to climb the rocky slope, but slips back down!


The bats swarm forward over The Panther and this time take him out of the fight! Around the back of the ruins, Ibrahim rolled a one again and still fails to climb the rocky outcrop!


Druzhag is set upon now, but manages to beat back his foe, while The Pincer wounds the bats, shooting into combat again and using his lethal aim and master of poisons the bats are left with just one more wound. The Fox stabs his spear into them and the bats are no more!


Finally Ibrahim walks a little further around the base of the outcrop so he can just walk up instead of trying to climb! He arrives just in time to trap Druzhag from the rear and between the rest of them The Talon and The Fox strike the final blows to clear the evil goblin shaman from the ruins!


Druzhag and his band scurry away to maybe find somewhere else to cause mischief!


And after the battle The Talon gains the Hero Slayer special rule, The Pincer obtains the Fell Sight special rule and everybody is all healed up (except for The Sparrow who is going to miss the next match). Most importantly, The Fang's arm is healed up and he'll be able to use his bow again!

Another Watcher of Karna, impressed by The Blademaster's efforts in this battle, has joined the Company!

Friday, November 16, 2018

Dragon WIP

Just thought I'd better pop on and fill in on what's been going on!
We went away for a week, so not much happened there, and my current project is to put together a model we can use for a Cave Drake or a Dragon...


I really wanted the actual Cave Drake model, but I couldn't find one anywhere in stores or online. This is the Blightfang model and orginally I was going to do it without wings, but my modelling skills weren't up to the task when I saw how big the gaps were going to be and the way it was already sculpted near the wings.

Anyway, I'll do a full report when it's all done. It's getting there, but this is a much bigger model than I'm used to painting!

Here she is next to a goblin warrior for scale.


My son and I were reading a Tolkien Bestiary and saw that there were different types of dragons, including Cold Drakes which were every bit as terrible as others, but for some reason could not breathe fire. 

So my blurry photo of this old skink shows the paint scheme I'm going for...


So far I've done the base and most of the body and head with the wings still to go. Here's the base, you can see some flat sections where the feet will attach.


And I'll leave the teaser at that for now =)

Thursday, November 1, 2018

Battle Company Battle Report - Hold the Line 2

Well, after playing Hold the Line with the Harad trying to cross the board, this time we swapped and it was the dwarves turn to try and get across.

The dwarves split into three squads to force the Haradrim to split their forces!


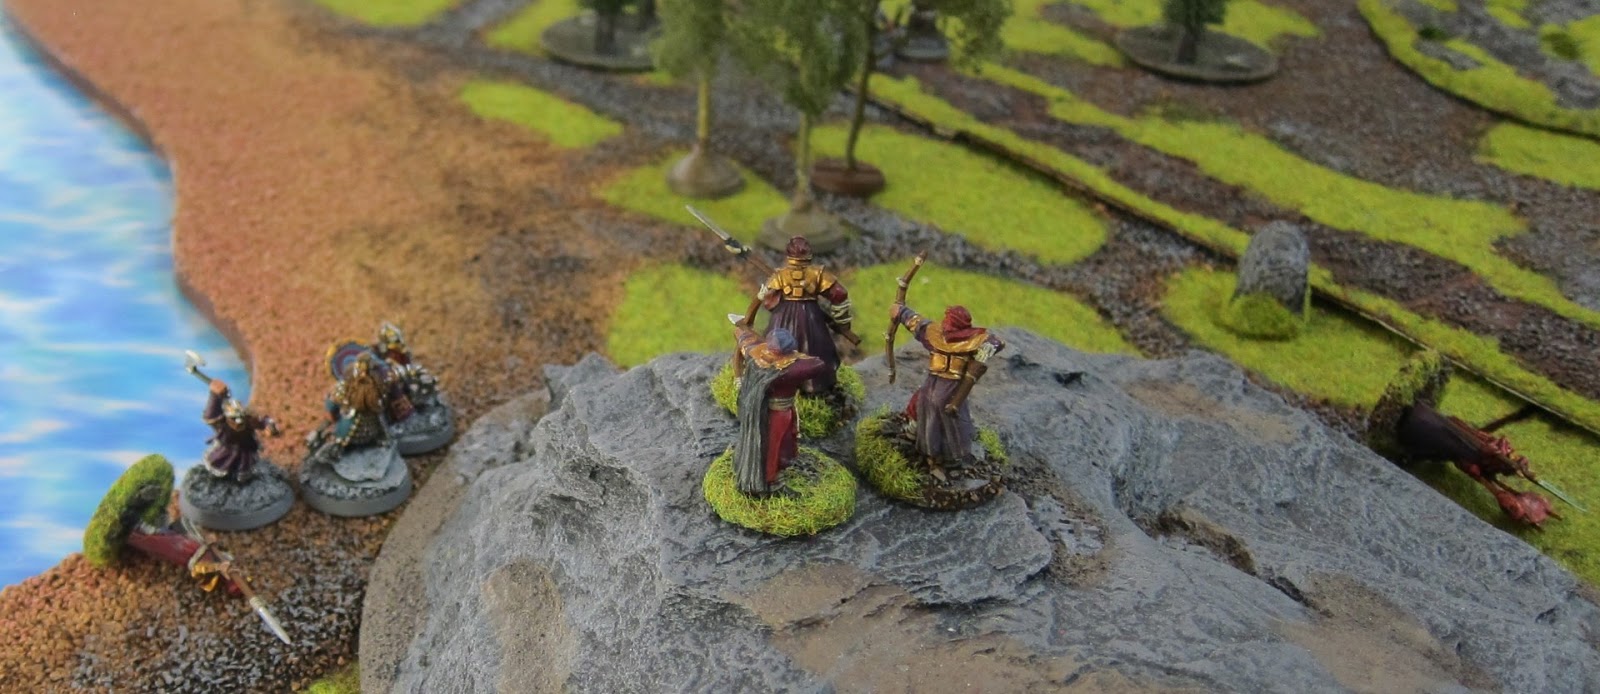
Brynmor led the shielded dwarves up one flank, the archers stayed in the middle to try and snipe horses and Rocky, Boggle, Etako and Freya headed off near the beach.


The Fang shoots and hits Etako, fortunately his fate saves the wound! Rocky is not so fortunate and The Pincer shoots him down.


Freya then takes out The Hawk in melee, dwarven sword and axe out performing the charging horseman and his warspear.


Archie manages to shoot down The Fox!


Turn 3, the Haradrim get priority and the Haradrim spur their horses to attack the dwarves. Freya wins the fight against The Falcon and scores a wound, but fate saves it for the lieutenant of The Falcon's Honour. Etako parries to win his fight and kills The Fang!


In Turn 4, the Haradrim get priority again! They attempt a charge against the shielded dwarves. Diva takes out The Serpent with help from Brynmor while Hilda Trollslayer with backup from Kara's spear wound The Talon twice, fate saves one wound but the other gets through.


Freya uses a throwing axe to take out Sunstone. 


Rhoda the elf takes out The Falcon's horse! He falls flat on his face! For the most part all of the shooting (including the throwing axes) has been pretty poor! Every round I would hit but then roll a 1 or 2 for the wound!


In turn 5 the parties all reposition, all shooting misses and there are no combats. As you can see, the Harad have not fared well. Their usual tactics do not involve taking on dwarves in 1-1 combat, but the scenario this time works well in favour of the dwarves.


In round 6 the dwarves finally get priority, mostly they charge forward towards the other end of the board. The Talon charges in and knocks down Mighty Monty spearing the dwarf and taking him out of the match.


The Pincer shoots Boggle (shooting into combat, hitting the dwarf in the back, rerolling thanks to poison and wounding him - though it is saved by fate). Taking similar risks, The Wolf shoots as well, but the arrow flashes past the dwarf and wounds The Falcon!


Boggle, arrow in his back, smashes down The Falcon with help from Etako.


In round 7 the priority is returned to the Haradrim (who have had priority 5 times so far). Brynmor calls a heroic move to charge The Talon, who uses two points of might to win the fight but fails to wound the high defence dwarves.


Etako parries and takes out The Sparrow while Boggle kills Black Cloak after both a parry and using his blademaster skill! Freya loses her fight, but is not wounded.


In the final rounds the dwarves mop up the surviving Haradrim. Kara Longspear kills The Talon.


Freya's charging axe throw removes The Tiger from the match while Boggle and Etako take out The Wolf...


Before finally dismissing The Pincer and his double shot poison elf bow of nastiness!


At the end of the match, only two dwarves were removed and all the Haradrim were sent home!

We commented many times about how this match-up was a really hard one for the Harad force. They usually like to use their horses and archers to focus on dwarves, but because I sent a squad in each direction they had to split their forces and to top it all off they kept getting priority, which hampers the cavalry as I can counter charge to swarm them.

In other words, the dwarves FINALLY won a game! In fact, when I told my son that my brother was coming over he said "Oh, is he coming over to beat you again?"

With the bazillion xp the dwarves got, Etako got an extra attack, Brynmor got parry, Boggle got an extra point of strength, Freya the iron guard is now a hero in the making (and easily dwarf of the match) and I've saved up enough influence over the last three games to guarantee that I got another vault warden team to cap off my squad at 15 troops.

Unfortunately after that mission, The Falcon, The Tiger and The Wolf will be sitting out the next game! Potentially worse, The Fang got an arm wound, which means he can't shoot his bow! The Fang upgraded to a Keen Eye and The Pincer is now a Master of Poisons.