
Christmas has come and gone, as have the holidays! Over the holiday season I got up to a few projects and today one of them is finally finished!

It's taken me ages to do, but mostly because of time restrictions, I'm sure some of you out there could knock this up pretty quickly!
Over the Christmas period I received the following...

My son really likes the idea of hobbits, so we went all in on enough for a battle company of hobbits!
Of course, they'll need painting and somewhere to live so we are working on some dwellings and what better place to start than an actual hobbit hole =)
I started with some cheap packing styrofoam and put it on an old cork tile.

From above you can see that I've sort of put it in tiers so that it can be climbed up (sort of) in hindsight I probably should have smoothed it right down, but it's awkward working with this polystyrene. I've seen people use the nicer sort but I don't have any of that.

I used a bit of green stuff on a round plastic base and used a ruler to score "planks" and a piece of wood from the garden to imprint it with wood grain.

I had some Hirst Arts blocks left over from other stuff that worked nicely for round doors and windows. I used poly filler to stick it down on some cardboard cut to fit the flat sides of the hill.

So you can see it sort of standing up here.

On youtube I saw people making roofs out of cardboard strips cut out, so I thought I'd give that a go for my other Hirst Arts project (more on that later) and to provide a sort of overhang on the hill.

Next I used some roofing gap filler to squirt all over the whole thing and then used a rolled and scrunched up piece of alumnium foil to texture it.

You can see the tiled bit stuck on here, I put a few bits of balsa around some of the features both for a bit of colour and texture but also to help glue on the roofing tile bits!

And here's the other side. Oh, you can see I also used some of the filler on the cardboard walls to give them a bit of texture as I sort of wanted a stucco look.

With some cheap craft glue from Bunnings I slopped brown all over the dirt and wood.

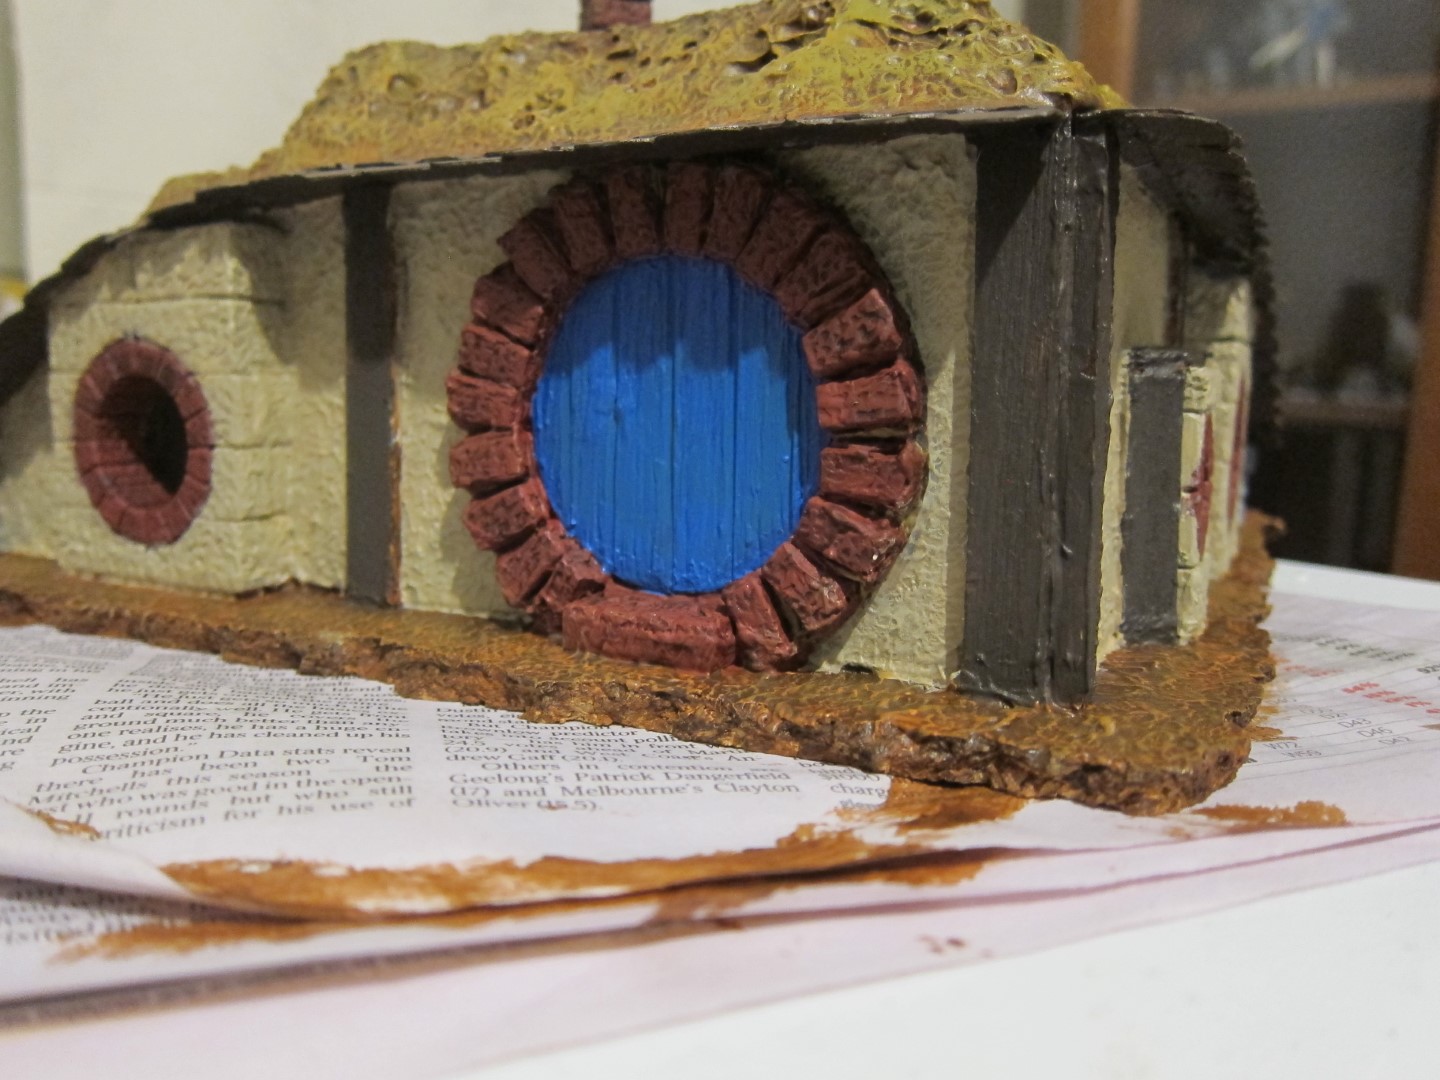
Next I used a sort of reddish brown on the bricks and Karak Stone on the walls.

I tried a bit of drybrushing on the dirt, but it was a horrible yellowy colour when it dried! Ewww! I also used some Dryad Bark on the wood and tiles.

We decided on a bright blue door. The bricks were washed with Agrax Earthshade then re-drybrushed with some of my old Scab Red paint. The stucco was drybrushed with Ushabti Bone and a little Tyrant Skull. The wood got a bit of Baneblade Brown.

My brother 3-D printed a lamp-post for me! I also used a pin with a round head to use as a door handle and made a knocker our of a small round link from a jewellry kit. Oh, and at the op-shop I saw an old basket that I cut up to use as fences.

It's looking nice and green now!

For some extra decorations I thought I'd try and make some little flower boxes. It's a little block of balsa wood with tiny nails hammered into it.

Paint the top of the nails in colours and the rest brown with a bit of the flocking and voila - flower box!

And when you put it all together you have a hobbit hole!
I'm really pleased with how it came up and for my birthday I've requested a green table mat so that the hobbit hole doesn't have to sit in the ash wastes of mordor or in the underground mines of moria!

I'll try to share how my other houses are going and, of course, the hobbits themselves, over the next while =)