
Hi all, here's the slightly belated battle report from the previous post.
Due to a lack of time, I won't be creative, rather I'll just narrate how it all went with a whopping ton of pictures...
Here's the beginning of the battle. The basics of it is that I have to try and get off the other side while denying my brother the chance to do likewise. The board is 5 feet by 3.5 feet. The river has two crossings, a bridge and a ford. Any other crossing has to be attempted by a jump, a failed jump puts you in the water and you have to make a swim test.
Here's a couple of turns later as everybody moves forward.
Here's Suladan leading his men over the bridge.
Here are some dwarves working their way forward, some archers standing in the ruins. We decided that any area enclosed by ruined walls or trees etc. counts as difficult terrain to walk through, though we use standard line of sight rules for shooting.
More dwarven archers in the forested area.
Volley fire from the dwarves on the next turn results in the banner bearer losing his horse and falling to the ground.
More archery drops two riders! I was worried about the horses, as they could very quickly move across and off the board, so I fanned out my dwarves to force confrontation and focused archery on them.
Here's the general board shot on that turn...
Now some dwarves fall as they are charged by the riders, warspears are nasty!
My dwarves have reached the ford ahead of the faster Haradrim as it was closer to my board edge. The whole way through this match I bemoaned my stumpy legs, I can't catch up with men when they run away from me!
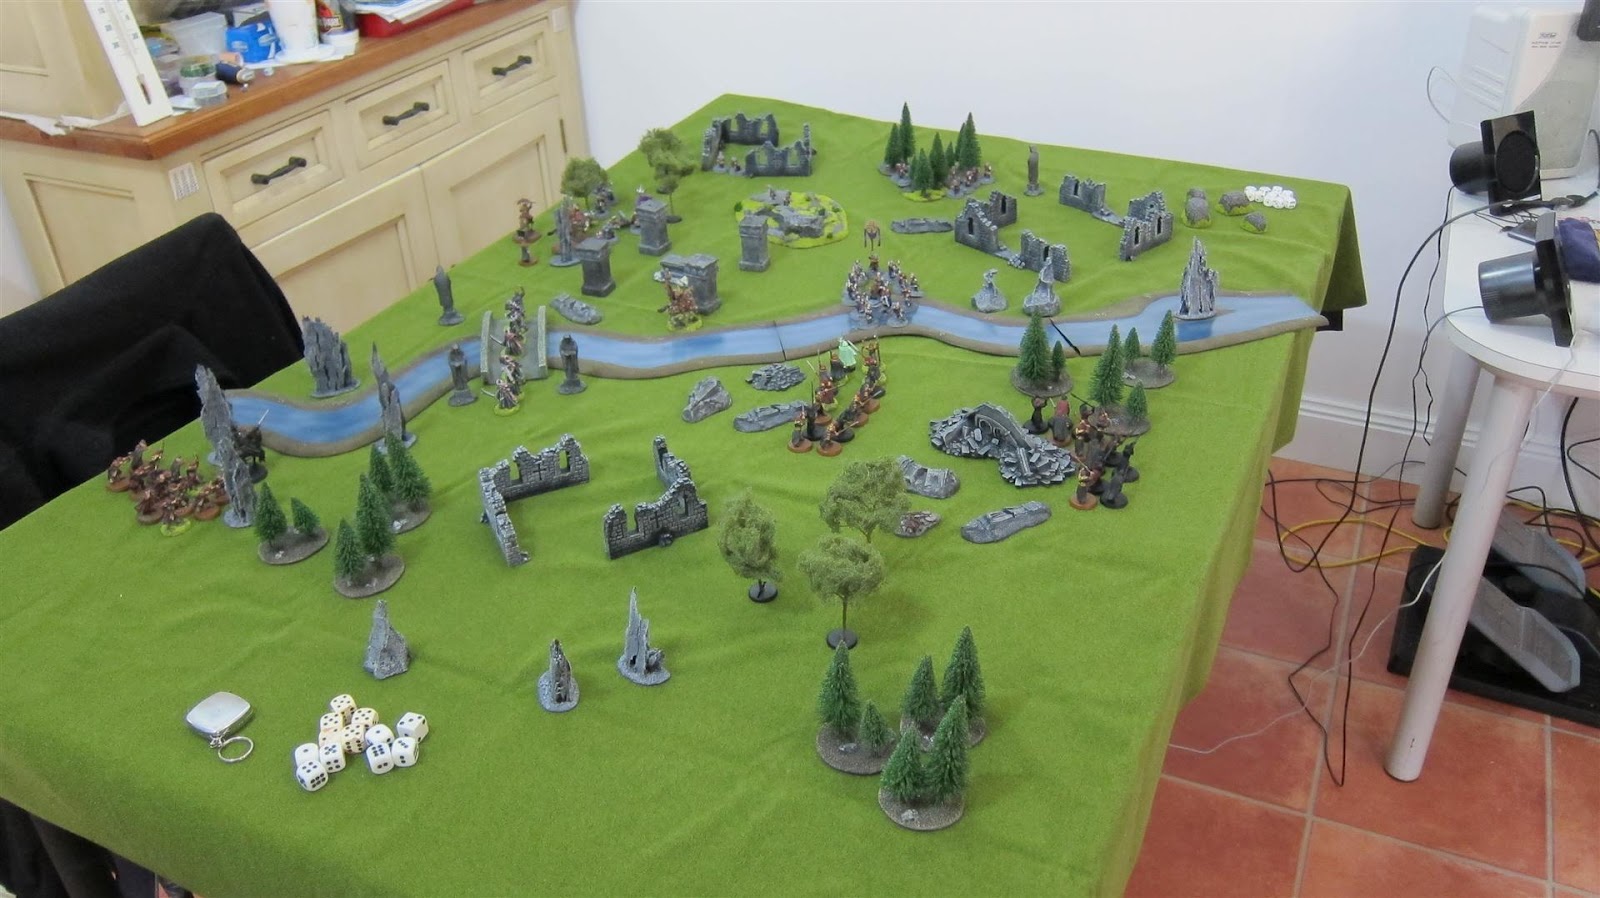
The brave dwarves surge across the ford into the waiting spears. The Haradrim extra attacks win more fights, but my hardy dwarven mail stands up to the blows. I quite like the match-up here. I have less chance of winning the fights (due to no spear support) but am more likely to kill if I do win. Forgive the ghostly Haradrim spearman, my brother is a little short of men for a 700 point match due to having to save some to represent the horsemen when they are de-horsed.
Brynmor takes out a rider, while a nearby shield-dwarf falls. In the background you can see the Hasharin and his band of Watchers of Karna coming over the bridge!
At the central ford area, Suladan rides rapidly from the bridge to strike the flanks of the dwarves, killing the Khazad tasked with keeping the banner bearer safe!
Etako and the dwarf king continue charging across the ford, every turn the balance seems to change! Some of the Haradrim prepare to leap across the river!
Here's the board as a whole...
Near the bridge, the melee is fierce, made more so by the dangerous men in black!
Brynmor resists being transfixed, but still is fought almost to death by the Hasharin. The Betrayer used some will and Brynmor resisted by using all of his will, then both the Hasharin and the dwarf used their might, but the Hasharin won out and Brynmor had to use all of his fate to not be killed! Super drama, it was one of those awesome battle moments!
By calling an heroic move, which Suladan did too - a roll off occurred, lucky for me Etako won the roll-off and got some Iron Guard to accompany him in attacking Suladan to keep him off the banner bearer. Suladan escaped injury, but it was another cool epic moment in the match!
At the other side of the ford the battle remains fierce with the dwarven king taking on the Haradrim chieftain and some spear support. Some of the haradrim make it across the river by jumping!
Here's a shot of the board...
Brynmor is felled by the evil Hasharin in another round of battle! At this point Brynmor and the Hasharin have used all their might! The bridge flank is looking doomed for the dwarves!
And why did Brynmor fall so easily to the Hasharin assassin? Well, the assassin had martial prowess, but in the background, the shadowy figure of the Betrayer was casting Transfix! Great 1-2 punch from my brother there. Wonderfully evil! Great to watch with the black Betrayer always lurking in the background.
The battle at the ford continues looking grim for both sides, lots of casualties. Etako heads back across to try and catch some of the river jumpers!
The board...
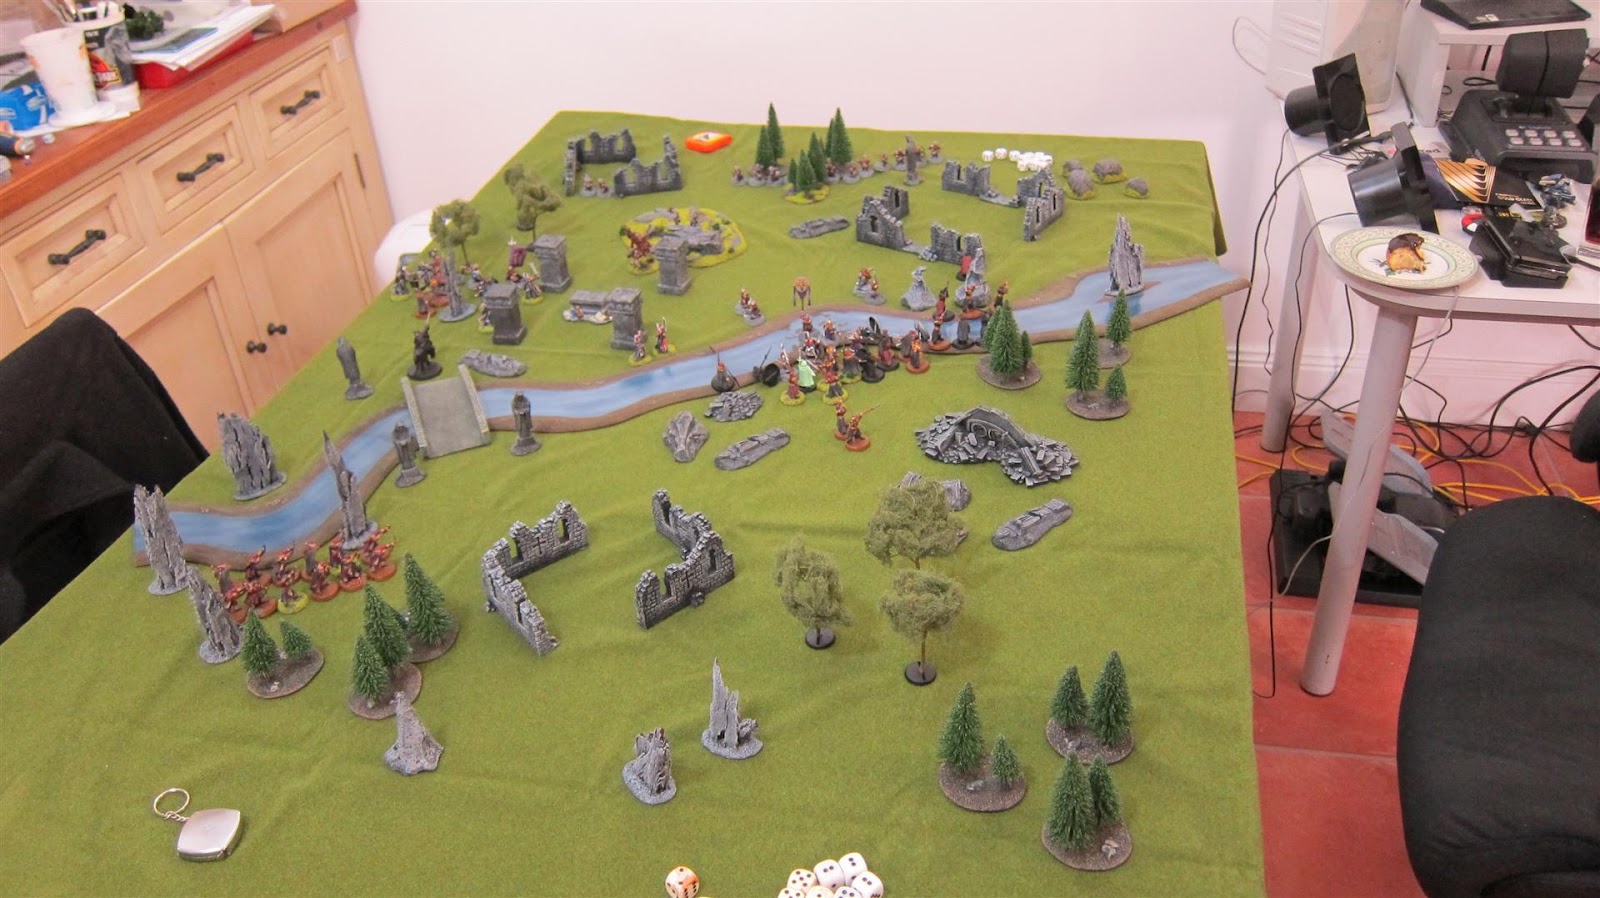
Fewer dwarves than ever near the bridge, surprisingly the banner-bearer dwarf wins a couple of fights, he never gets a kill but keeps himself (and therefore his companions) alive.
Meanwhile Suladan is just rampaging around the battlefield, ignoring arrows flashing past him to take out random flanks and dwarves.
Some watchers head toward the ford banner bearer so some Iron Guard leap into action!
The dwarven king is taken down! How? The Cursed Betrayer again! He didn't have to ride far to get his spells into range! I think he would have to have been my man (or once-a-man) of the match. My brother used him really well, casting transfix and black dart at very strategic moments.
As the King falls, the other dwarves renew their furious assault on the black clad men. One man drowns in the river after failing both his jump AND swim tests!
Here's the board...
Suladan is de-horsed! Archers finally took him out. Of course, then he just ran off the board to get a victory point! Leading the way for his other troops =)
A Black Dart from the Betrayer snipes the banner bearer at the ford, where multiple Haradrim fall to the dwarven axes.
Etako and his guard take out some of the jumpers, the archers end up taking care of the few that make it past them.
More ford carnage, the waters must surely be running red with man and dwarf blood by now!
The board, note the Betrayer and the remaining horses have broken past my dwarves and are about to escape off the board!
Another turn later...
These guys tried to get past my archers (in the background) but were taken out.
The last dwarf at the bridge...
The Betrayer kept casting Black Darts as he exited the board, the Hasharin and his watchers not far behind. My dwarves and their stumpy legs couldn't catch them, even though the Hasharin was down to no fate and just his one wound point remaining by this stage.
At the ford there are precious few men left, but my dwarves are nowhere near the edge of the board, so far all the victory points are with my brother!
The second to last turn...
By now both sides are broken and my brother capitulates the ford, but all of his men on the bridge side are unopposed. I concede defeat. Though I may have won a straight out fight from this stage, the mission was to break past the enemy lines and my brother has done it! The Haradrim gain a major victory!
Of course, a rematch between the two teams will be essential to regain dwarven pride =)
Sunday, February 5, 2012
Thursday, February 2, 2012
LotR SBG Battle - Dwarves vs Haradrim
Well what do you know, there's a blog here!
My boy turned one last week and he's been taking up pretty much all of my time - still not a good sleeper, I'm afraid!
My awesome Mum looked after him today so that I could duck over to play a game with my brother.
We'd both forgotten how cinematic and easy to play the SBG is. Really we didn't have to look up rules even though it's been forever since we last played.
No time to do a full battle report right now, but I will try to do it over the next little while.
To whet your appetite here are some pictures from the game - which I lost!
We put together 700 points worth of guys. Basically all of his Harad forces and three squads of dwarves. Click for the bigger picture if you want more details.
We rolled up a reconnoiter mission - d'oh! My slow dwarves would have difficulty with that. Fortunately there were two choke points at the river and I'd taken plenty of archers!
Here's the deployment phase:
Here's Suladan the magnificent attacking some pesky dwarven archers. Suladan rode around like a whirling death-sword on four swift legs. He would dart in, kill a dwarf or two, then ride back out before striking in again hit and run style. Racked up a few kills before eventually being de-horsed by an arrow and leading the charge off the map for a victory point.
And here's another messy melee as the cavalry charge in, knocking dwarves flying and generally making me really work hard to stop them breaking through.
What a great game, so much fun and so easy to play. Tons of dice rolls, lots of really cinematic stand offs and derring do! Can't wait for another game, hopefully with less time between this and the next game!
My boy turned one last week and he's been taking up pretty much all of my time - still not a good sleeper, I'm afraid!
My awesome Mum looked after him today so that I could duck over to play a game with my brother.
We'd both forgotten how cinematic and easy to play the SBG is. Really we didn't have to look up rules even though it's been forever since we last played.
No time to do a full battle report right now, but I will try to do it over the next little while.
To whet your appetite here are some pictures from the game - which I lost!
We put together 700 points worth of guys. Basically all of his Harad forces and three squads of dwarves. Click for the bigger picture if you want more details.
We rolled up a reconnoiter mission - d'oh! My slow dwarves would have difficulty with that. Fortunately there were two choke points at the river and I'd taken plenty of archers!
Here's the deployment phase:
And now for some random pics of game progress:
Here is the Betrayer doing what he does best - causing mayhem. He was truly nasty in this game. He stayed with the archers to give them their bonus poison for the initial volley fires, then charged forward to transfix my heroes - resulting in poor dwarven deaths. After that he took black dart pot-shots at my banner bearers as he rode off the map to gain victory points.
Here's one of my dwarf leaders face down on the riverbank having been well and truly ganged up on, it was a close fight and he squared off for a few rounds before eventually succumbing.
Here's Suladan the magnificent attacking some pesky dwarven archers. Suladan rode around like a whirling death-sword on four swift legs. He would dart in, kill a dwarf or two, then ride back out before striking in again hit and run style. Racked up a few kills before eventually being de-horsed by an arrow and leading the charge off the map for a victory point.
And here's another messy melee as the cavalry charge in, knocking dwarves flying and generally making me really work hard to stop them breaking through.
What a great game, so much fun and so easy to play. Tons of dice rolls, lots of really cinematic stand offs and derring do! Can't wait for another game, hopefully with less time between this and the next game!
Thursday, November 3, 2011
Double Trouble
Two in one week! Crazy! As I said, Etako was done in some random spare time I found myself with. This next one is my Thursday effort for this week, just a generic chainsword Grey Hunter who is, as yet, nameless.
Here he is looking right at camera. I tried to get a pose like maybe he's blocking with his chainsword.
This is straight on to the body, I tried to position the legs and torso as if the weight was towards the boltgun. Perhaps he just fired his gun and is blocking down as he raises it after the shot? You might notice the grenade, the first green I think in all the space wolves so far. Actually I lie, I think one of the lenses on Loki (the venerable dreadnought) is green. Anyway, I was happy with how it came out given I'd not painted one before.
Simple too, though finicky. Knarloc Green then with a tiny brush the raised bits got Camo Green and afterwards a Thraka Green wash.
Company marking side...
Back view, the camera has washed out the highlights on the swordy thing, but it's not really a big deal, nothing fancy there.
Oh, and I used a different Bronze technique this time, I used Boltgun Metal, then Tin Bitz, then Dwarf Bronze. Dunno if it's really any different in the end. Maybe a touch darker. I might practice it a bit more though as it has more layering potential. I find it hard to paint with my bronze, it's very old and been watered down many, many times over the years!
Lastly, here's a squad shot. I've taken out the one guy from the other squad, so this is all legitimate squaddage. Six Grey Hunters with a Wolf Guard leading. I've got an old power-axe that I painted a really long time ago. I have to decide if I want to do another power weapon as I think I can do a better job now. We'll see anyway =)
You can see my super-awesome planning that I do on the paper above. It may be simple, but I find that writing things out first helps me when I put the paint on. Simple tips from White Dwarf magazines. Like starting with the letters in the middle, then the end, then putting the others in to space them well.
So in Etako I did the A, then the E and O, then the T and K last.
Anyway, there you go =)
Subscribe to:
Posts (Atom)