
On the plus side, I've finally finished my scenery =)
I'll take some shots of it on the full board with more minis at a later date, but am currently working on an assignment worth 40% of my final grade, so can't take too much time out for blogging!
These are, again, Hirst Arts blocks. The ruined tower set that lets you make Weathertop from The Lord of the Rings. I decided early on that I wanted to play with some more verticality, but also wanted to easily use boards that were one foot by one foot and a little modular. Here you can see that I've sorted the blocks out by type and have started dry-assembly on the paper plan provided on the Hirst Arts website. http://www.hirstarts.com/

Here's a little closer look. You can also see the instructions in the back right, though I didn't use them for everything as I did a slightly different version.

These aren't glued yet, just an idea of what I had for the first play with the blocks...

Now I've glued some of the sections together, but have yet to work out anything about hills etc. As a matter of fact, on the left you can see my sections for the ruined castle that are in the process of painting - I was putting this one together while waiting for paint to dry on the other =)

After a day of hacking up polystyrene sheets I had an idea for a more spread out series of ruins. I have covered the polystyrene with polyfilla (actually, not the "official" one, but a cheaper version I found at Bunnings. I just squeezed it out, spread it all over the polystyrene with my finger then used some wet crumpled aluminium foil and dabbed it all over the still wet polyfilla. This gave it a bumpy texture that was quite irregular. On top of all that I globbed glue, then sand, then some little rocks. I've also tried to add some more broken bits around the place.

Here it is all painted black. The weather (winter here) was so awful that I actually painted it with watered down black paint as I couldn't get a day that wasn't too wet or cold for the spray paint. You may be able to see that the tops of some of the blocks that were smooth were given a layer of polyfilla roughed up to try and give them a non-smooth texture.

Now I've also painted the ruins brown.

Then drybrushed blue-grey.

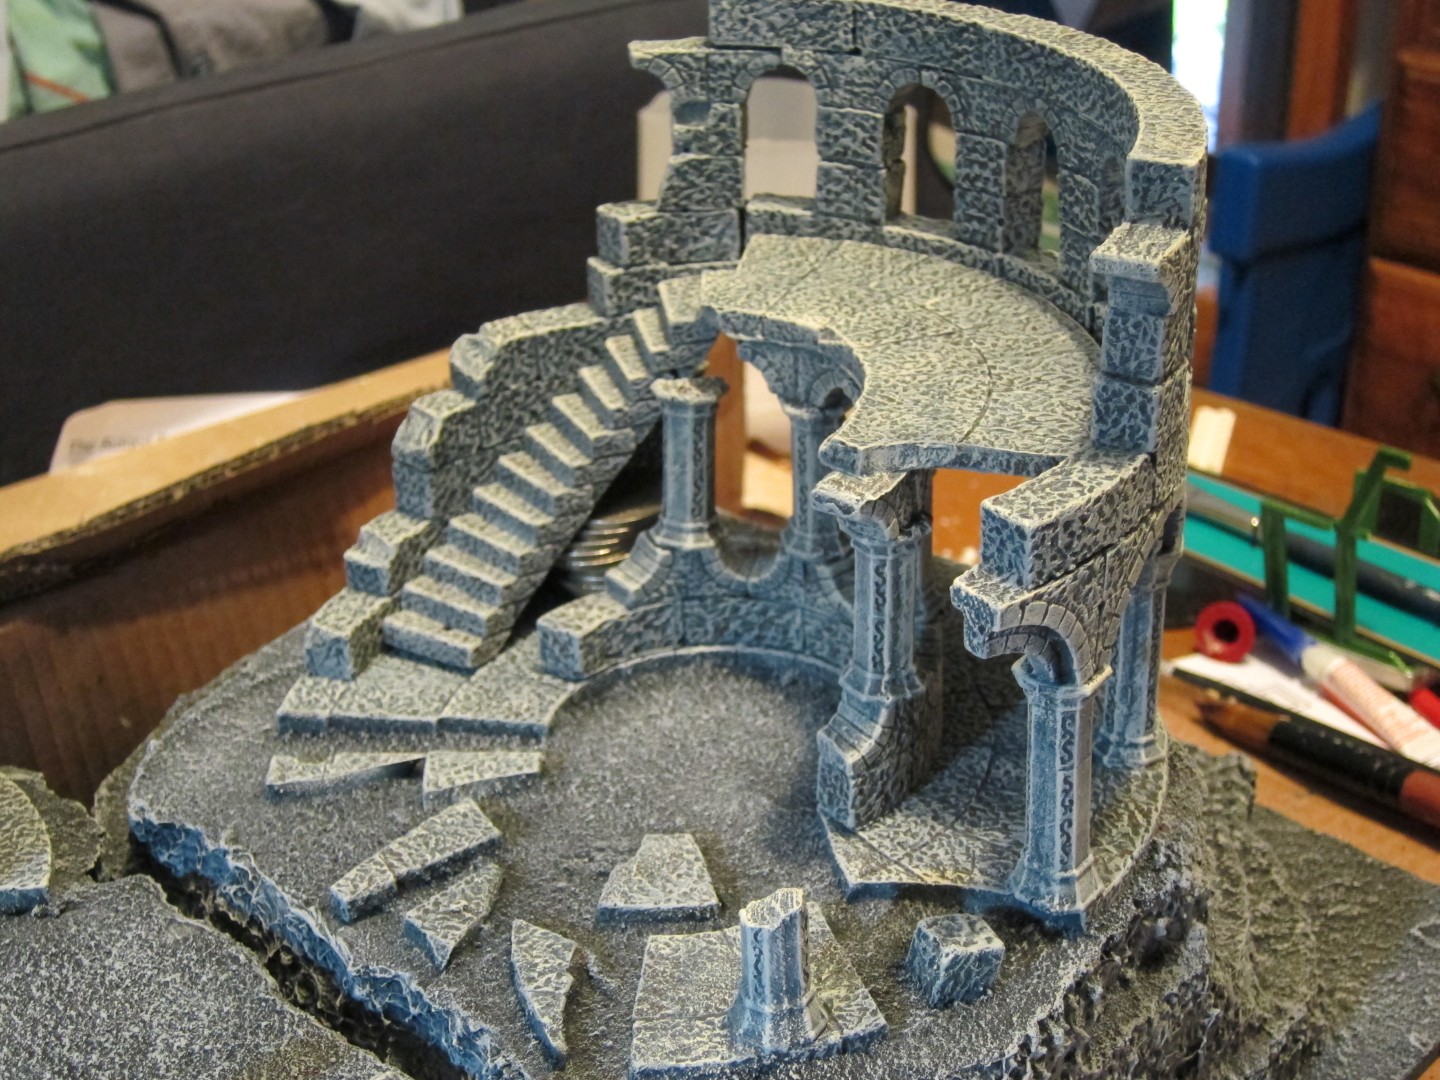
And then drybrushed dark grey over everything, light grey over everything then a final drybrush of games workshop white drybrush (can't remember the name off the top of my head) just on the ruins.

The photo doesn't quite capture the subtle difference in tones between the ruins and the rocks. I was sort of going for a look as though the big stone "steps" were carved into the cliff face and are not natural, though have weathered etc to look as though they're almost part of the rest of the scenery.

The coins hiding under the stairs are to hold it while the glue sets! And the gap under the bottom step is soon to be greenstuff filled and re-painted. My stairs were a little too steep. I'm quite pleased with how rough the previously smooth bits ended up once dry-brushed.
For scale, here's the small front ruin with an archer...

And the small top ruin...

And the main ruined section...

Here it is on a 2 foot by 2 foot board. Because each section is 1 foot by 1 foot you can put them next to each other, but you don't have to.

Side view of the top section...

It's hard to capture how tall they are off the ground here. I'll set up the boards later to demonstrate how I chose the height by putting a Mumak next to it =)

There is access to the top level via the front steps, but also around the back there is a semi-winding path that a smaller based mini could ascend.

And lastly a sort of top-ish view.

I was pretty happy with how cheaply the polyfilla roughed up the styrofoam edges. I was watching Thomas the Tank Engine with my son the other day (he's 2 1/2 now) and noticed that lots of their scenery (in the old model-based episodes, not the new CG ones) has the tell-tale bubbles of polystyrene. I've managed to avoid that by spending about $2 on a cheap polyfilla knock-off, my fingers and some aluminium foil (which I re-used after cooking a roast and rinsing it off).
I think I preferred the other blocks from the ruined castle, but I know lots of people prefer these styled ones, so I guess it's just personal taste.
So there you have it, sorry for how long it's been, I'd really like to do more painting and hobby, but just don't have lots of time spare for it currently.
Next chance I get (pre-schooler free) I'll try to set up the boards with the new scenery pieces on them so you can get a better sense of scale.
that is *awesome.* I have the same set from hirst and I was starting to think I may need to sell them off, but now I have inspiration anew. I love the fact that the two peices mold together to give you a nice chasm to leap across. very well done and worth the wait.
ReplyDeleteFantastic! The pics with the Troll give it a great sense of scale, and it looks like it goes great with your Realm of Battle Board. I quite like the look of those pillars too, Hirst Arts make some great stuff!
ReplyDeleteSo glad to see you back, and can't wait to read up about the battle report also. Looks great as always!
ReplyDelete